Creating Your First Board
When you open ArtDeck, you start in the Gallery — a visual overview of all your boards.
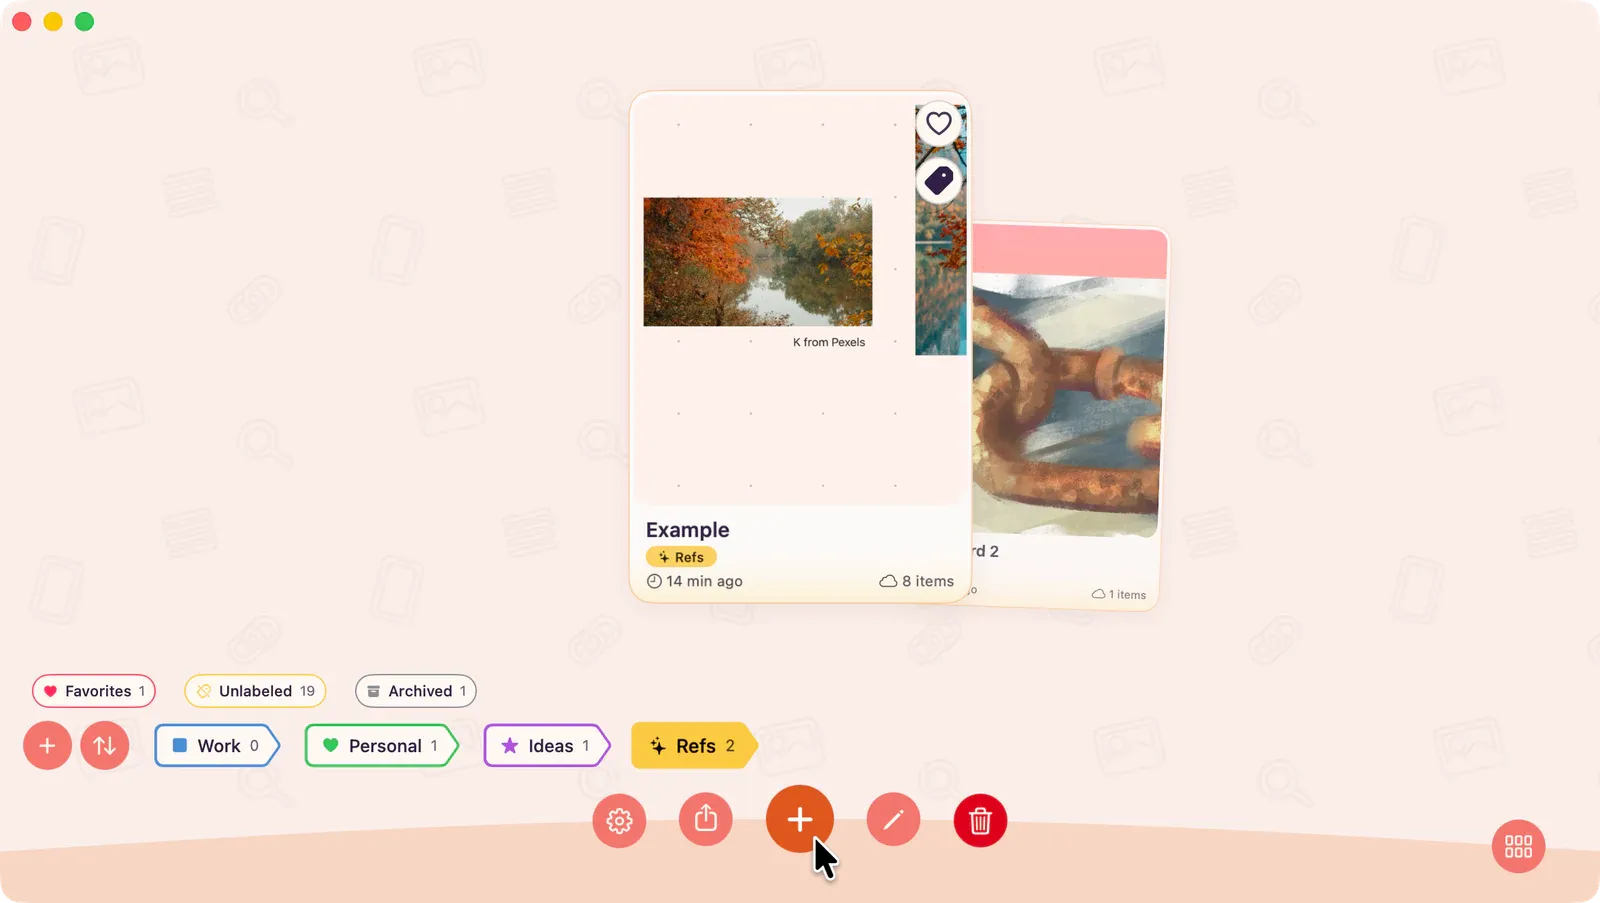
Create a New Board
Section titled “Create a New Board”- Tap the + button in the gallery.
- Your new board opens immediately as an empty board.
- New boards are named automatically: your first is My First Board, then My Board 2, My Board 3, and so on. You can rename a board at any time — see Managing Boards.
If you turned on iCloud Sync during setup, new boards are marked to sync automatically. If sync is off, the board stays local on this device until you turn on Sync with iCloud in App Settings.
Add Your First Item
Section titled “Add Your First Item”With your board open:
- In the board header, choose Add Media, Add Text, or Add Link. On compact layouts, open Add Content first.
- For media, choose a source: Photos, Files, Capture, or Paste.
- Select an image (or multiple) and it appears on the board.
Note: On iPhone and iPad, long-press an empty canvas area for the contextual radial menu. On Mac, right-click the canvas for the same add actions.
Navigate the Board
Section titled “Navigate the Board”- Pinch to zoom in and out.
- Drag empty board area with one finger to pan on iPhone and iPad.
- Two-finger drag or scroll to pan with a trackpad, mouse, or without affecting selected items.
- Tap an item to select it. A control bar appears with available actions.
Return to the Gallery
Section titled “Return to the Gallery”Tap the back arrow in the header, or press ⌘Up on a keyboard.
Next Steps
Section titled “Next Steps”- Board Navigation: All the ways to move around your board
- Adding Content to a Board: Every import method available