Measure Lens
Open the Measure lens to place plumb lines, angle points, and ratio comparisons directly on the board.
Placing and Resetting
Section titled “Placing and Resetting”Each Measure tool is placed onto the board explicitly:
- Tap Place on Board (or Place Again to re-place) to start placement.
- Tap on the board to set the initial position.
- Tap Reset to clear the current geometry and start over.
Note: On iPhone and iPad, an on-screen nudge pad fine-tunes the active point. On Mac, use Arrow keys.
Plumb Line
Section titled “Plumb Line”Place intersecting vertical and horizontal guide lines over the reference to check alignments and proportions.
- Tap to position the origin point. After placing, drag the origin to reposition.
- Vertical: Toggle the vertical guide line on or off.
- Horizontal: Toggle the horizontal guide line on or off.
Angle Finder
Section titled “Angle Finder”Measure any angle in the reference by placing three points.
- Tap three points to define the angle.
- Snap 15°: Toggle snapping to 15-degree increments.
- Swap Active Ray: Switch which ray is active for nudging.
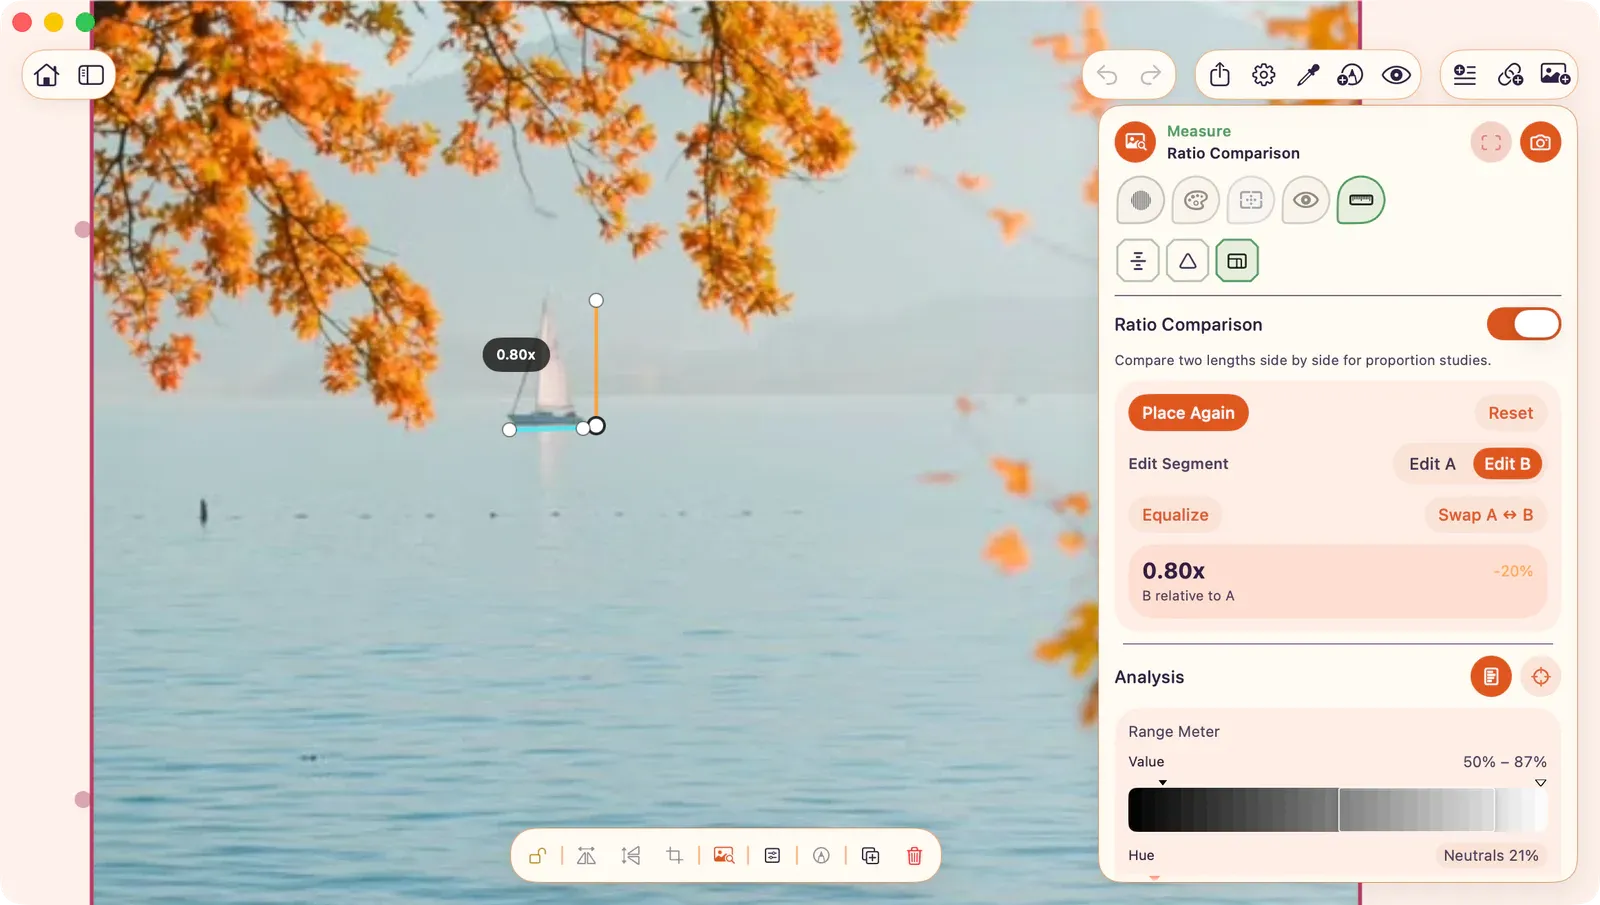
Ratio Comparison
Section titled “Ratio Comparison”Compare two measurements side by side.
- Place segment A and segment B.
- Displays formatted ratio and percentage delta.
- Color-coded positive/negative indicators.
- Equalize: Normalize the active segment to unit length for side-by-side comparison.
- Swap A ↔ B: Swap the two segments.